


How to put up your wooden map
No drill, no screws. Every Creatifwood map comes with everything it needs to go up: double-sided tape, and a paper template or two corner stencils to get the outline right. Framed panels arrive assembled and hang like a picture. Find your map below – each line has its own routine, and none of them needs a toolbox.
Jump to: 3D world maps · 2D world maps · Maps of France · Wooden wine maps · Framed panels
What do you need before you start?
A wall bigger than the map, clean and smooth – the footprint of every size is on the size guide. A flat surface to lay the pieces out on, a tape measure for the centring and scissors for the tape. That is the whole kit; the tape and the template or stencils are in the box.
How do you put up a 3D world map?
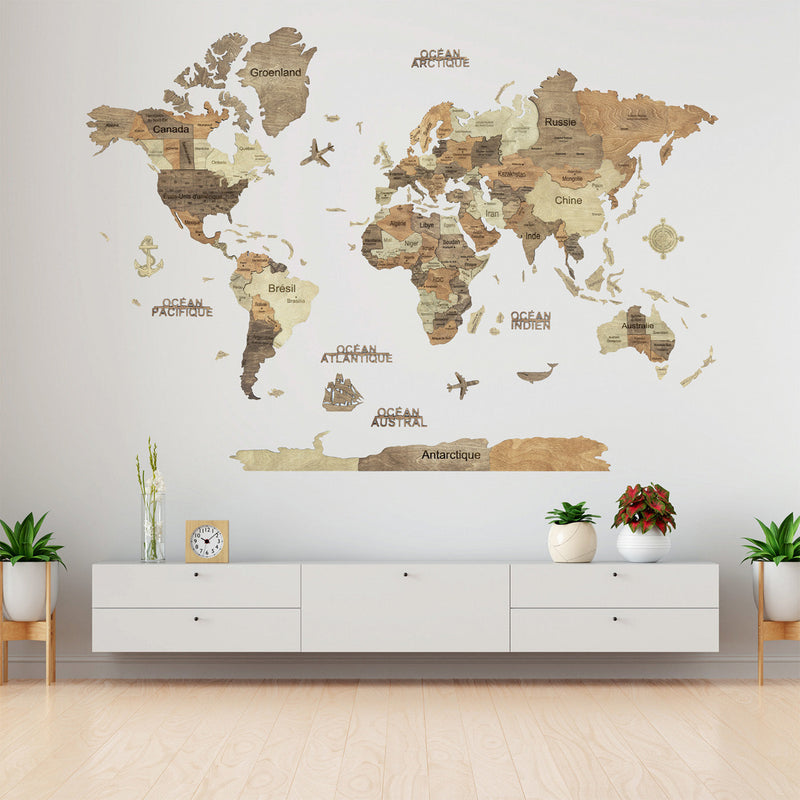
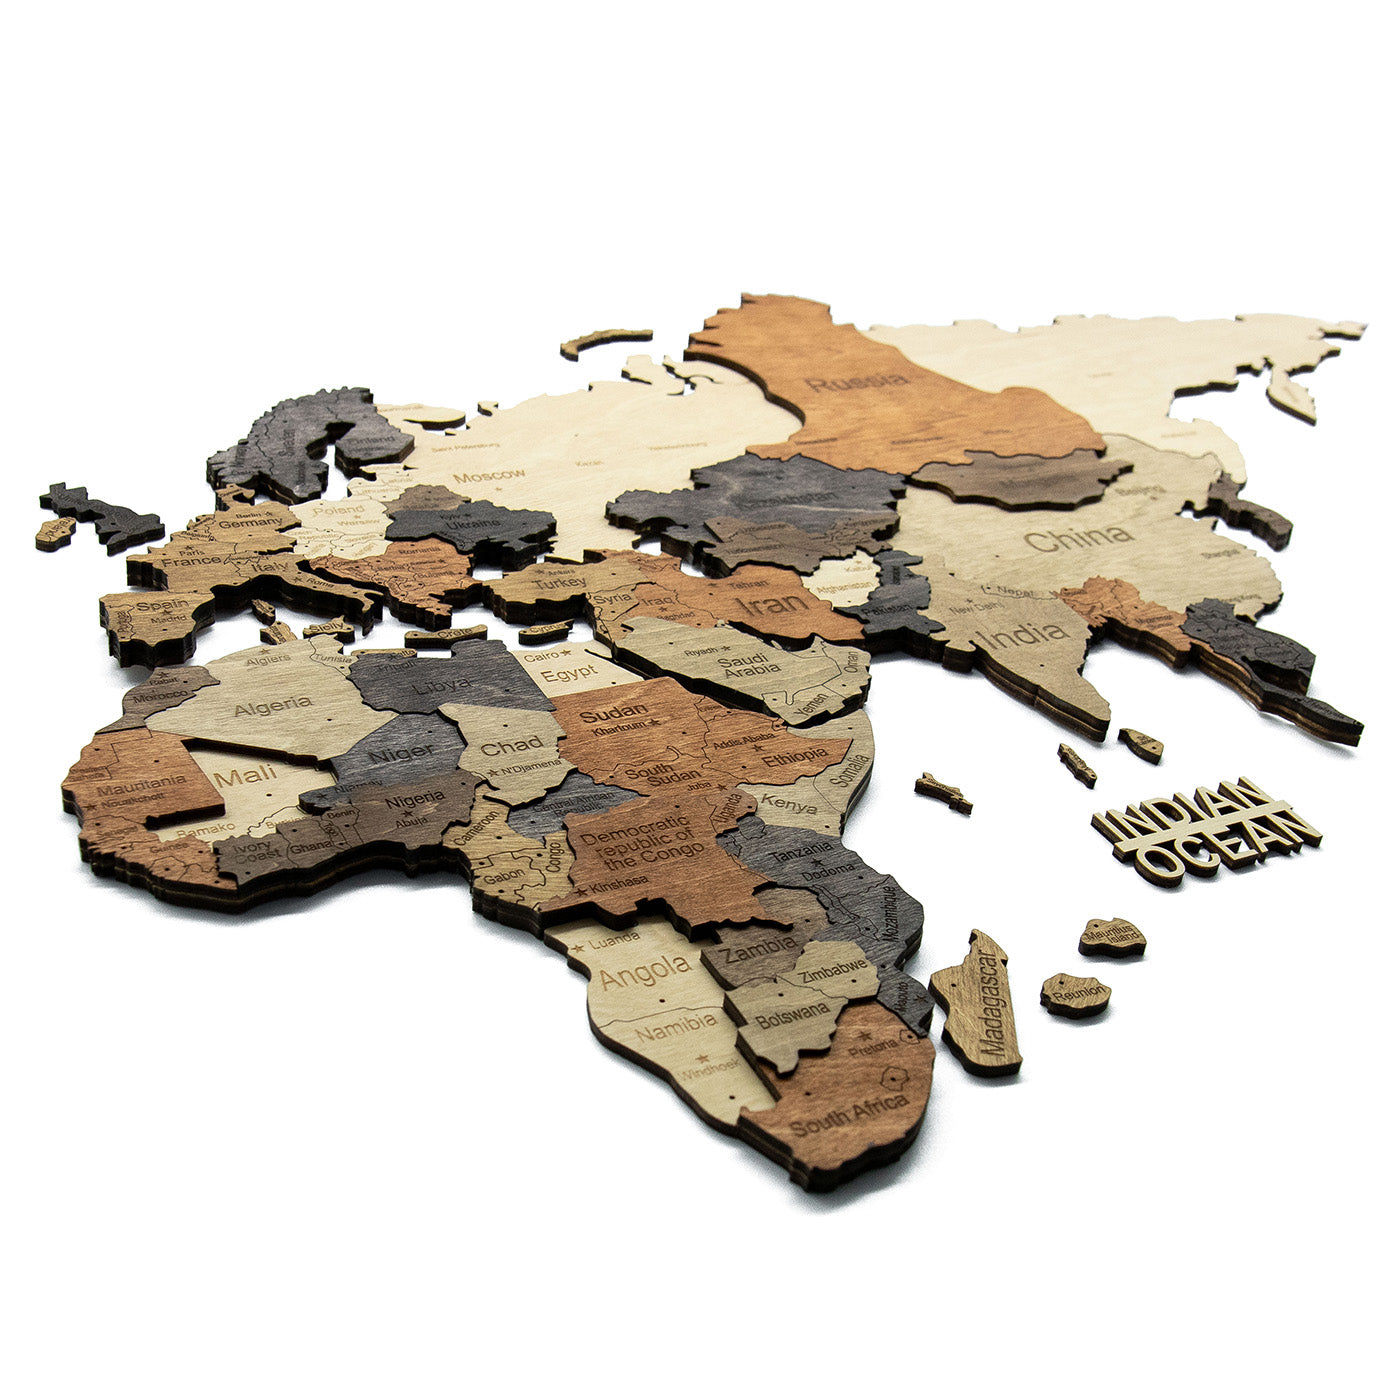
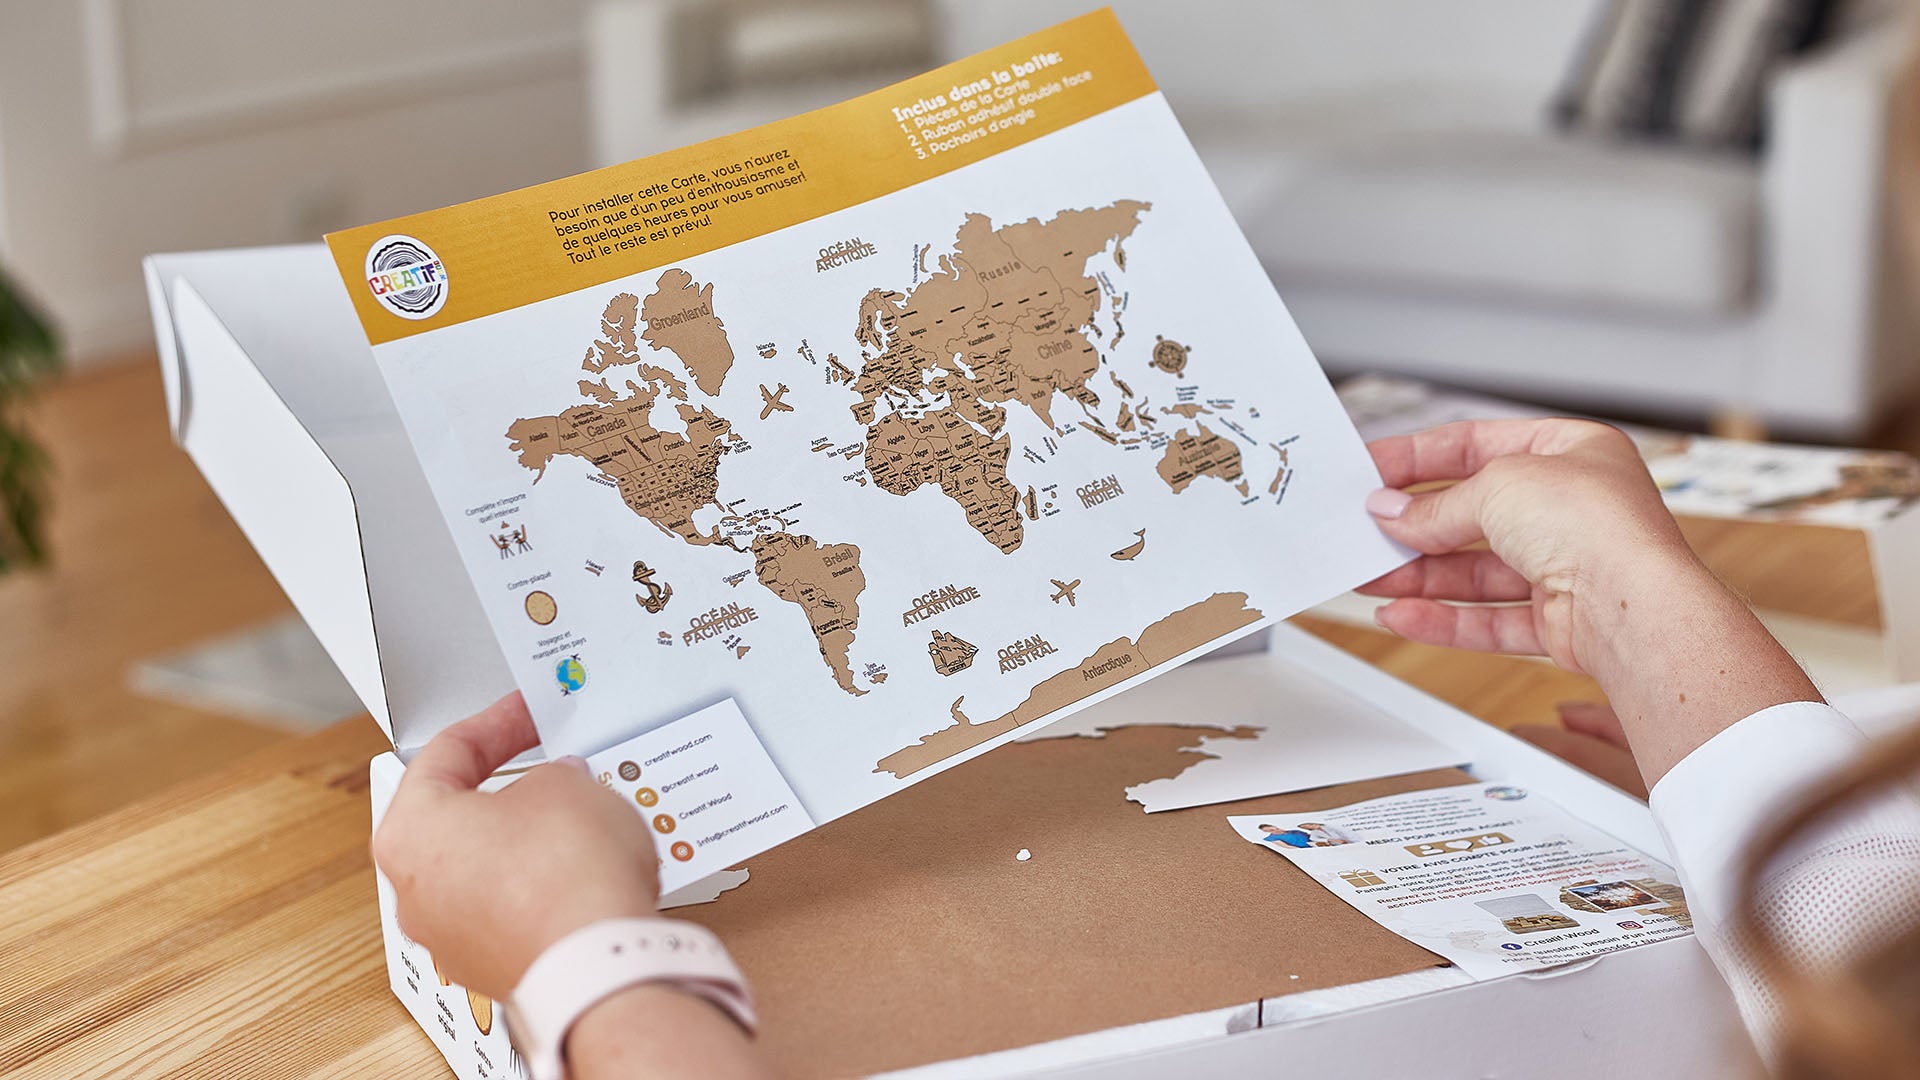
The 3D maps – Light, Amber, Dark, Chocolate, Graphite and Multicolor – ship with double-sided tape and a paper positioning template.
- Tape the template sheet to the wall and step back. This is the moment to fine-tune the height and the centring – nothing is permanent yet.
- Lay the pieces out on a flat surface and apply the tape pads to the back of each one.
- Starting with the largest continent, press each piece firmly against the wall for a few seconds, following the template.
- Peel the template away.
- Finish with the ocean lettering and the accessories – compass, two planes, boat, anchor and whale. Done, in a few hours.
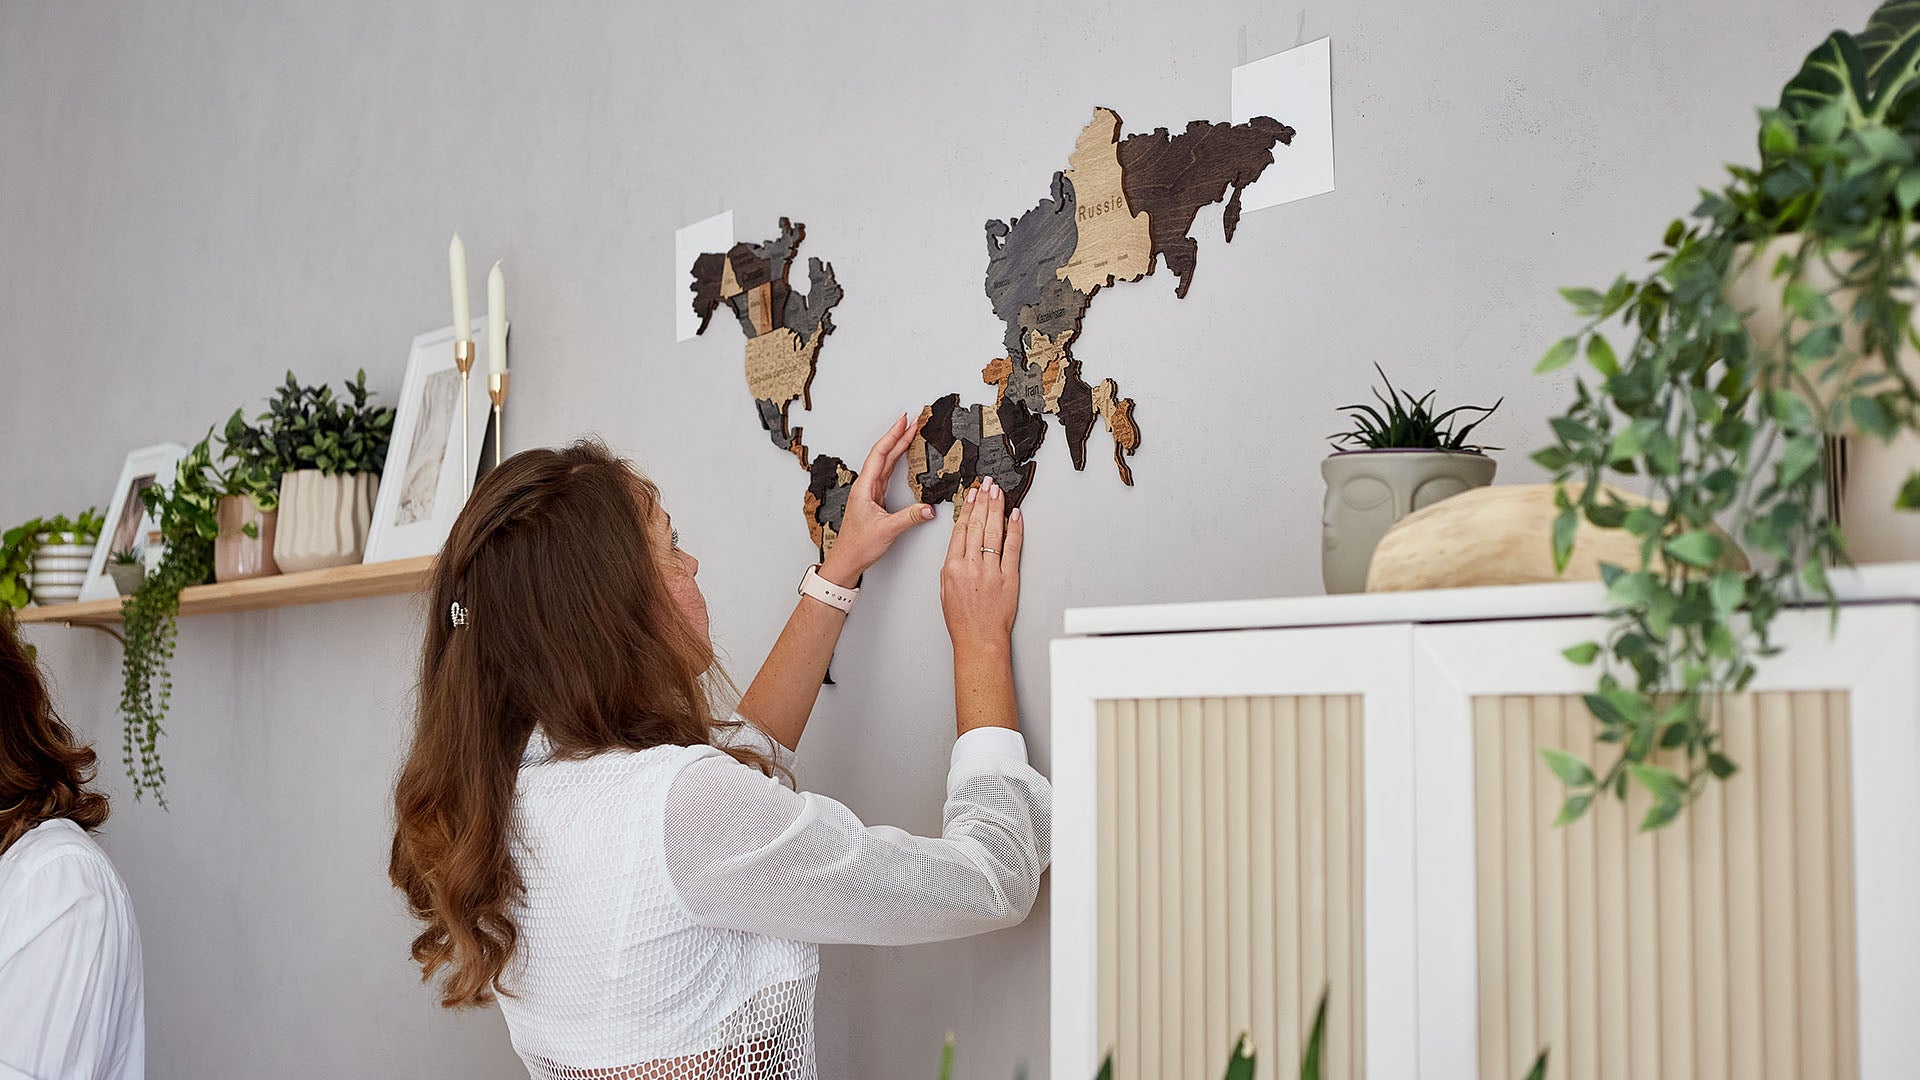
How do you put up a 2D world map?
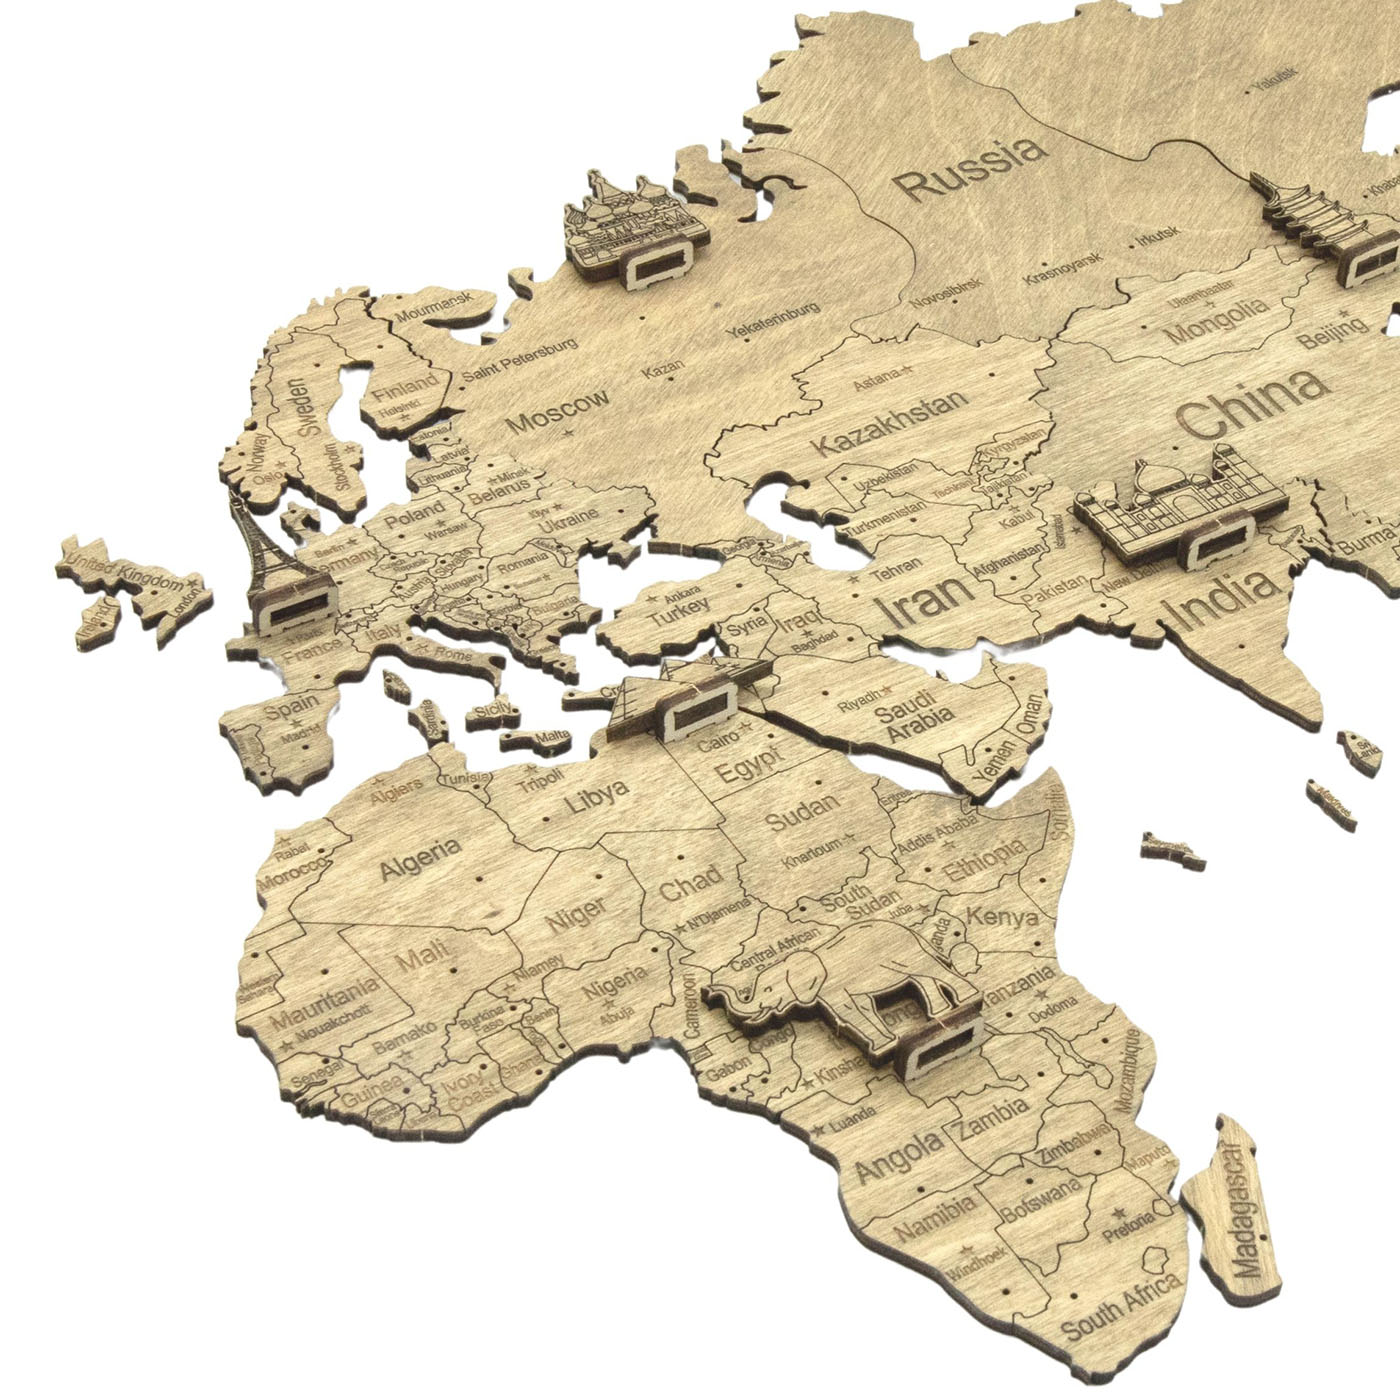
The 2D maps – Light, Dark and Multicolor – come with double-sided tape, two corner stencils and an illustrated sheet.
- Tape corner stencil 1 where the top-left corner of the map will go, measure across for your size and tape stencil 2 at the top-right. Step back and check the height and the centring – nothing is permanent yet.
- Lay all the pieces out on a flat surface, cut the double-sided tape into 2 cm pieces and stick them to the back of each piece.
- Start with the big outer pieces, pressing each firmly against the wall for a few seconds, then work inwards.
- Place the landmark figures and the ocean lettering last.
- Peel the stencils away – done, in a couple of hours.
And a map of France?
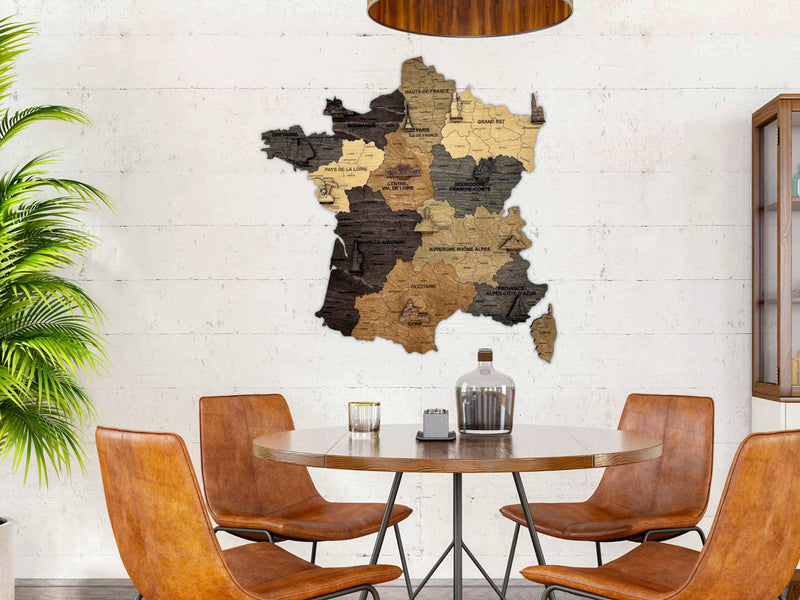
Same routines, smaller wall. The 3D map of France goes up like the 3D world map: template on the wall, tape pads on the back, the largest region first, then the rest. The 2D maps of France use the corner stencils: keep the outline square, start with the outer regions, fill in towards the middle and place the landmark figures last – a couple of hours.
How do you assemble a wooden wine map?
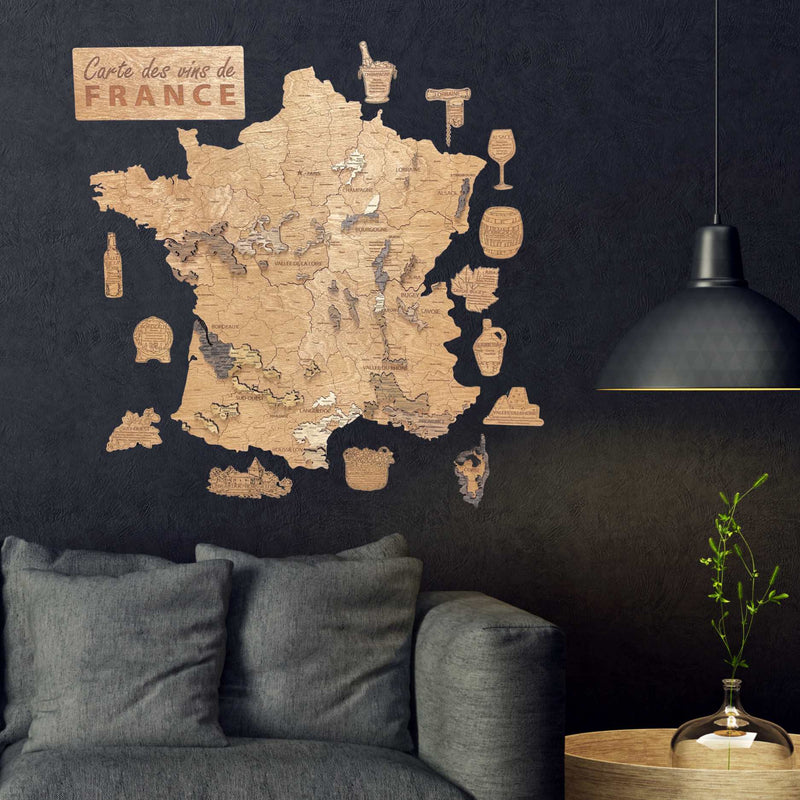
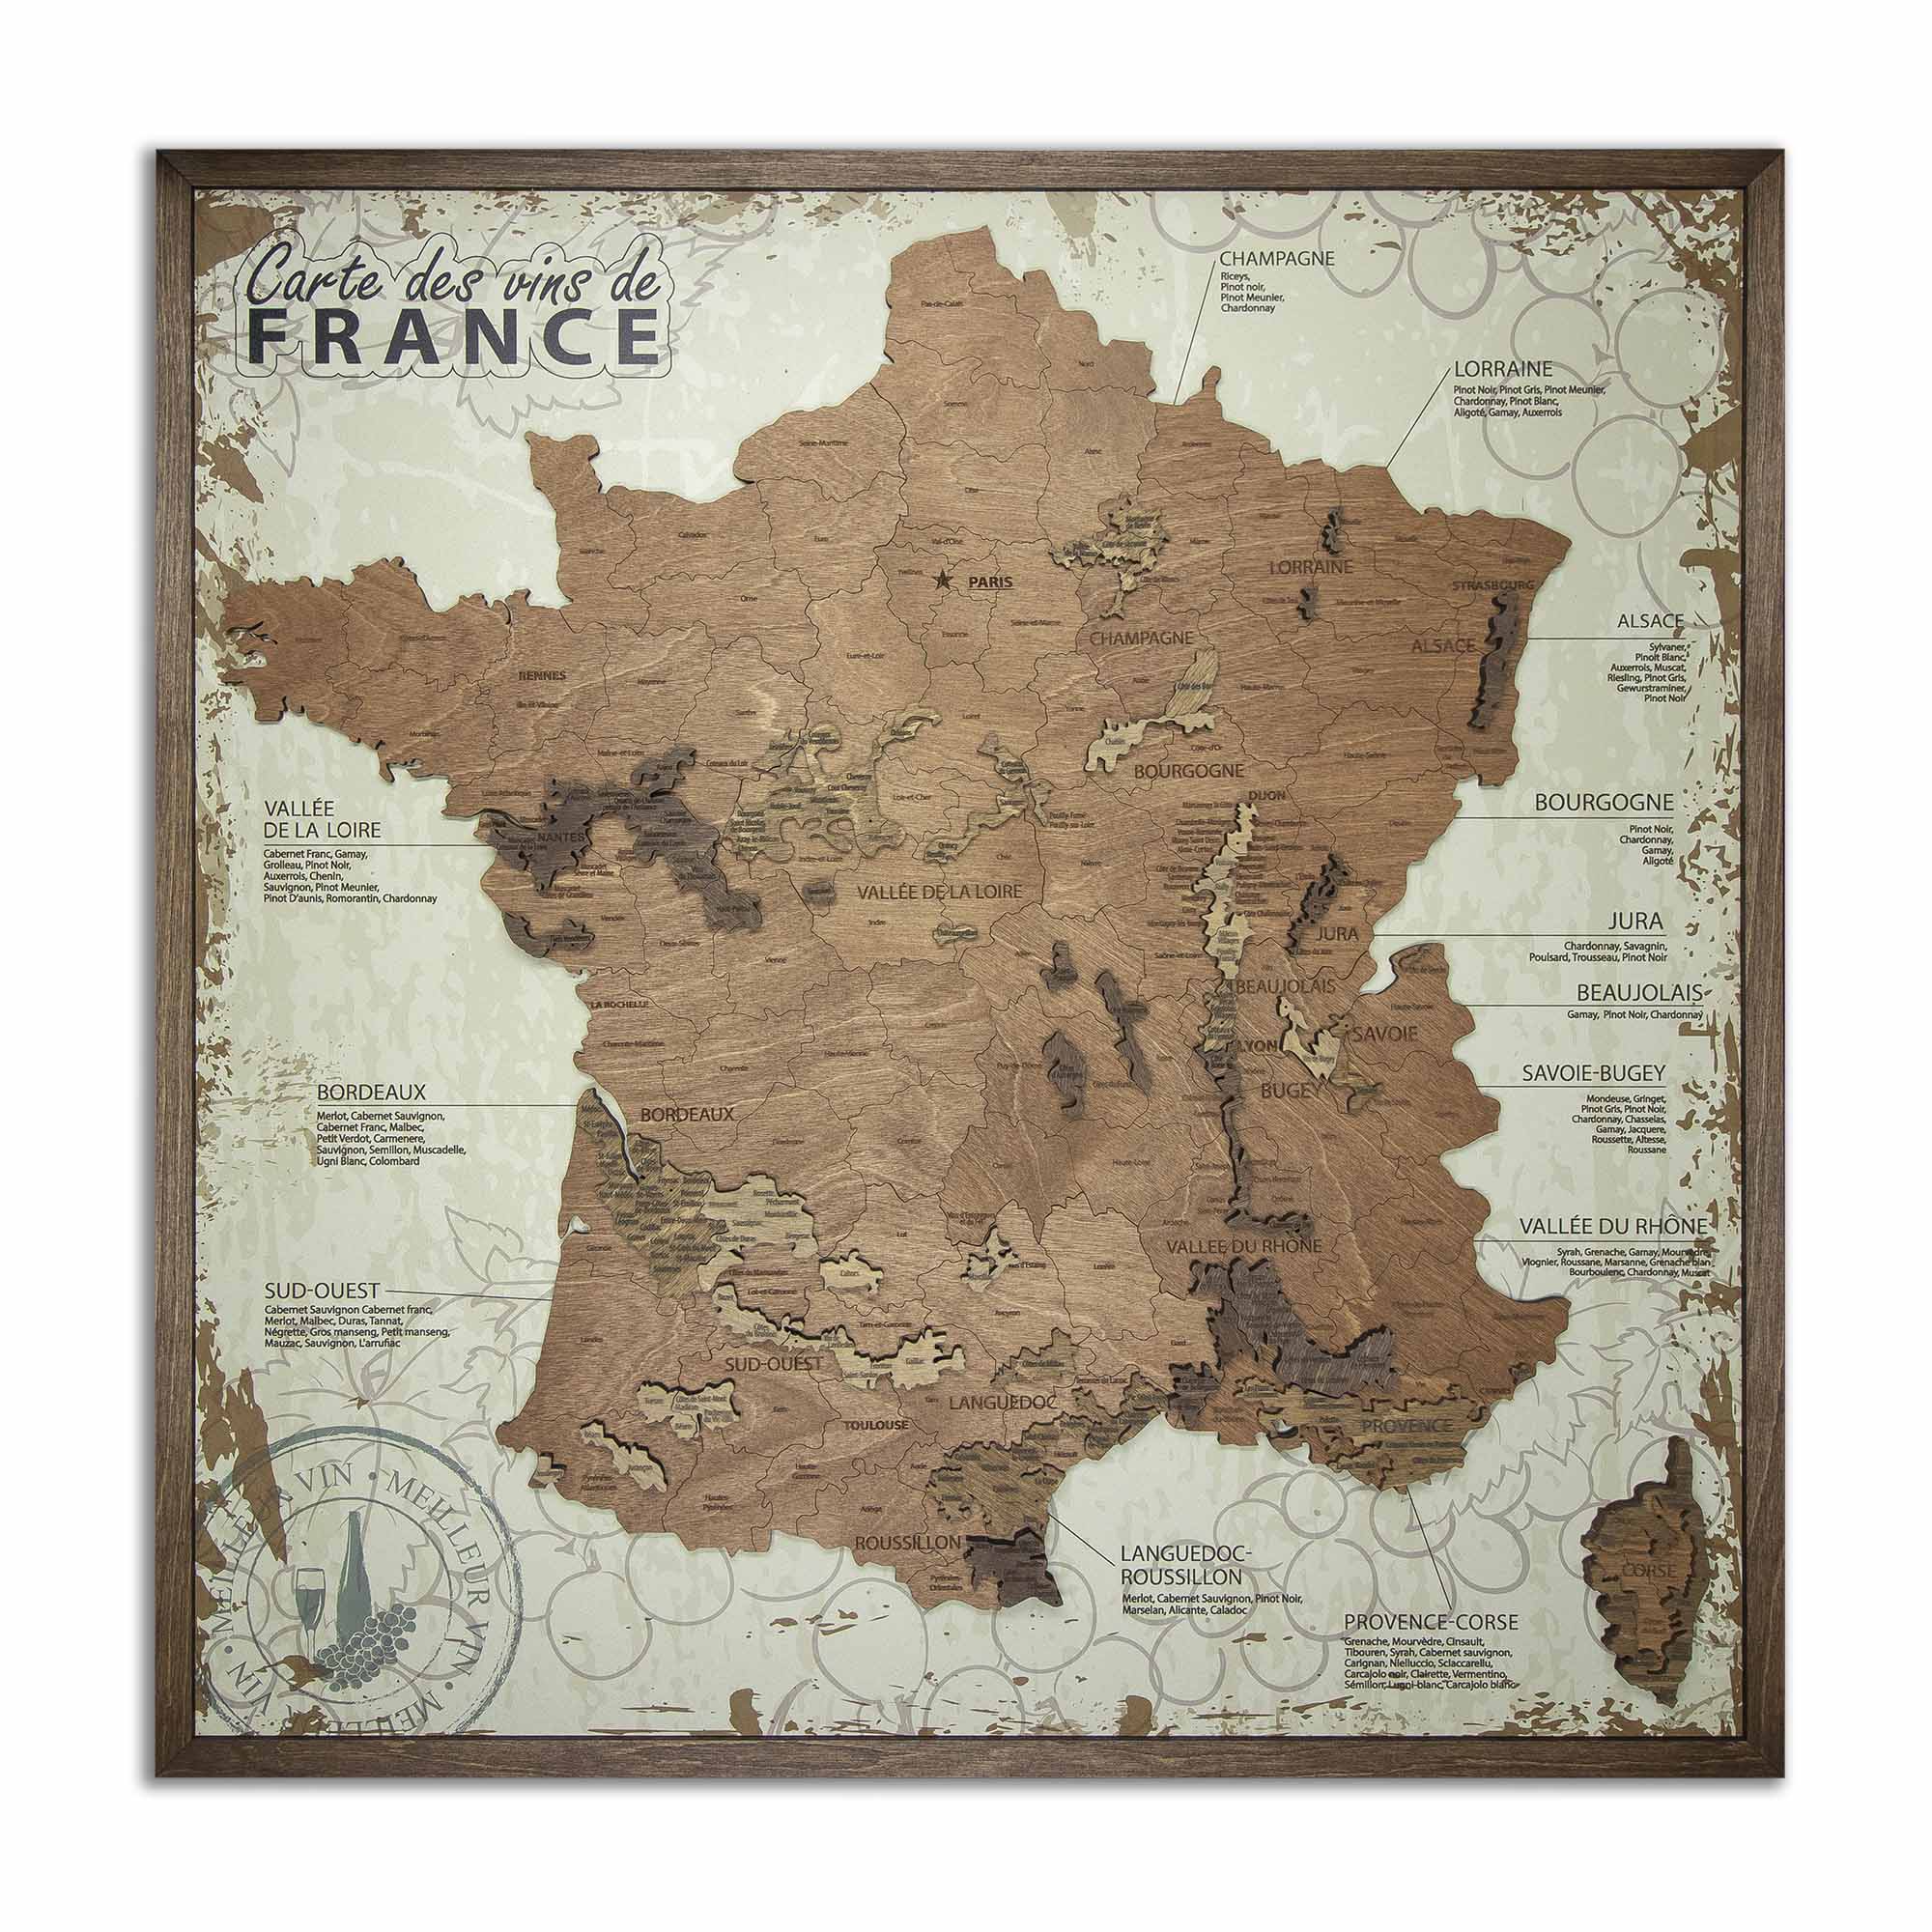
The wooden wine maps of France and Italy arrive as flat boards, with double-sided tape in the box, and you build the relief yourself.
- Check that the wall is bigger than the map, clean and smooth.
- Press the pieces out of the boards carefully, pushing from the back, and lay them out on a flat surface.
- Press out the vineyard pieces from their own boards. These are already taped: peel the paper backing and stick each one onto the map, following the outlines engraved as guides.
- Cut the double-sided tape into strips of about 1.5 cm and stick them along the edges of the back of each piece.
- Mount on the wall, on a board or inside a frame – outer pieces first, then the badges wherever you want them. An hour or two.
What about a framed panel?
A framed panel arrives assembled and framed, with the fixing built into the back. Hang it on a screw or hook rated for its weight – between three and five kilos depending on the panel – so a plasterboard anchor rather than a picture pin. Nothing to glue, nothing to lay out: a few minutes.
Frequently asked questions
Will the map stick to a textured wall?
Taped maps hold on lightly textured walls; very rough surfaces need extra tape. Framed panels hang from the fixing on the back, whatever the wall.
How long does installation take?
A few hours for a 3D map, a couple for a 2D one, an hour or two for a wooden wine map, with the included tape and the template or corner stencils – no tools needed. A framed panel needs none: one fixing, a few minutes.
Do I need any tools?
No drill and no screws. Scissors for the tape and a tape measure for the centring are all a taped map asks for. A framed panel needs one screw or hook rated for its weight.
Can I remove it and remount later?
Yes. Warm each piece with a hair dryer and peel it off gently – the wall stays clean. To remount, use fresh double-sided tape; the original tape won't hold a second time. A framed panel simply comes off its hook.
What if a piece is missing or broken?
Write to us with a photo and we will send a replacement. Details are on our Missing Pieces page.